Alternators

A reliable alternator can support the performance of a vehicle’s entire electrical system.

Alternators

How they work

Driven by the engine, the alternator (along with the belt and the regulator) converts mechanical power into electrical energy that supplies various loads in the vehicle system. During normal driving conditions, this electrical energy will be used to recharge the car battery. When the required electrical load does not match the output being produced by the alternator, the battery supplies any extra power needed to electrical equipment.

As the engine speed changes according to driving conditions, so does the alternator speed and generated voltage. The regulator controls this generated voltage and ensures that the various electrical loads are supplied with the appropriate voltage, including the car battery.

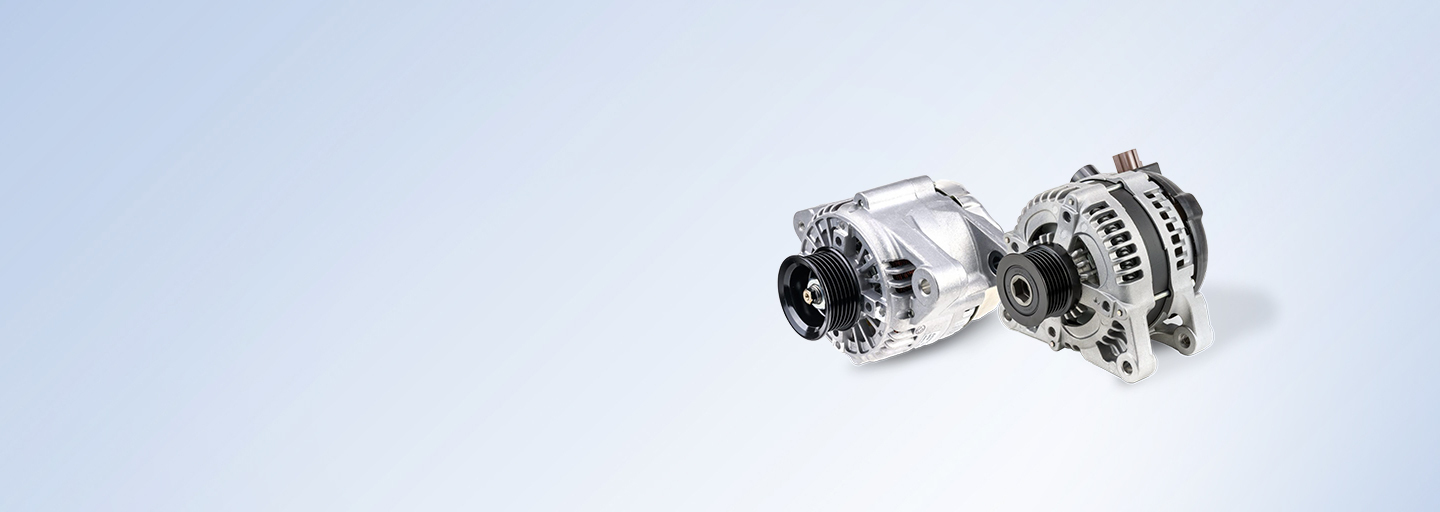
DAN930 3 D DAN962 3 D

Features and benefits

  • Manufactured to premium standards.
  • Rigorously tested to meet high-performance requirements.
  • Advanced technologies enable optimal performance in all conditions.
  • Smart, easy-to-understand part range with strong coverage.
High performance
Small and lightweight, the design of DENSO alternators provides high performance in a compact, easy-to-fit product.
Superior quality
A product of choice for Toyota and a wide range of European car makers, our alternators are manufactured to premium standards.
Advanced technologies
Compatible with sophisticated electronics systems, our alternators are built to perform under all weather conditions and under extreme electric loads.

Types and characteristics

We combine our expert engineering with premium-quality materials to create high-performing, reliable alternators that can be relied on journey after journey.

Alternators types

Alternator with a small internal fan

Engineered to provide optimal performance in a small, lightweight design, the fan has two blades that are integrated into the rotor, reducing weight, size and fan noise. Plus, optimized stator and rotor sizes along with a smaller pulley diameter help to increase output.

DAN962 3 D
SC alternator

In 2000, DENSO introduced the world’s first SC (Segment Conductor) alternator using a rectangular segment conductor (angular copper wires) for its stator coil. The SC alternator reduces coil resistance and thermal losses by 50 percent, all in a smaller and denser form factor. The result is a compact and lightweight alternator with high efficiency and output.

DAN930 3 D

Characteristics

Our advanced technologies enable optimum output in a small, lightweight design. This enables maximum efficiency in a part that is easy to fit and has a long service life.

Catalogues and leaflets

To find out more about Alternators browse the Downloads Area section. Click here.

Installation and fault finding

Alternator failures can cause significant damage to the electrical systems of a vehicle. To avoid this, it is important to install alternators correctly and find and fix any problems quickly.

Replacement

Find out how to remove an alternator and install a replacement correctly.
  1. Identify each wire connection and note the location of each on the alternator.

  2. Disconnect the wires from the alternator.

  3. Loosen the alternator pivot bolt but do not remove the bolt yet.

  4. Loosen the tension assembly’s lock nut or bolt and turn the adjustment bolt so that drive belt tension is reduced far enough to allow belt removal. Some vehicles may be equipped with an automatic, spring-loaded tensioner. Rotate the spring-loaded tensioner using the appropriate tool far enough to allow drive belt removal.

  5. Remove the drive belt from the alternator.

  6. Support the alternator and remove the bolts holding the alternator in place. Set the bolts and alternator aside. Be sure to note bracket orientation and fastener length/location before removing the alternator.

  7. Inspect the condition of the wiring and connectors. Inspect for worn wire ends, continuity, loose or broken connectors, corrosion and pliability. Repair or replace as necessary.

Rotating alternator garage
  1. Physically compare the new alternator to the original. Compare the housing and pulley offsets, pulley size and type, pivot and adjustment hole locations, wire connector locations and terminal configurations with the original alternator.

  2. Install the mounting bracket(s) but do not completely tighten the bolts yet.

  3. Support the alternator and fasten it into position but do not completely tighten the bolts yet.

  4. Install the drive belt. If the drive belt is worn, stretched, cracked, oily or glazed, it should be replaced.

  5. Set the belt tension while tightening the mounting and adjusting bolts. Be sure to set the belt tension and torque the mounting bolts to the vehicle manufacturer’s recommended specifications.

  6. CAUTION: Do not pry or hit the alternator housing to adjust the belt tension.

  7. Check the drive belt alignment between the alternator pulley and other drive pulleys. Ensure there is no interference between the drive belt and other components.

  8. Reconnect the wire connector to its proper location on the alternator. Ensure there is no interference between the wire harness and other components.

  9. Reinspect all components. Ensure that threaded fasteners are properly torqued and there is no interference between components.

  10. Reconnect the battery negative cable.

  11. Start the engine. Let it for 5 minutes to accustom the drive belt. Re-adjust the drive belt using the ‘used’ tension specification.

  12. Turn the engine off and re-inspect again.

  13. Re-test the charging system to verify that it is performing according to the vehicle manufacturer’s specifications.

Fault finding

Find and fix alternator faults quickly.
  1. The battery warning light will illuminate on dashboard.

  2. The headlights may flicker or dim.

  3. Electrical accessories will operate slowly or not at all.

  4. The driver will notice stalling and poor running of the engine

  5. The battery drains faster than expected.

  6. The engine will not start or experiences ‘hard cranking’.

  1. The charging system or battery warning lamp is not on with the key switch on and the engine at stop condition.

  2. There is no charge.

  3. There is constant overcharging.

  4. There is intermittent charging.

  5. There is abnormal engine noise.

When solving an alternator problem, it’s important that you identify the specific symptoms of the failure. This will help you to narrow down the possible causes of any alternator failure. Checking the drive belt condition, the cables and wiring, the condition of the alternator itself and the battery during servicing will also help you to identify and solve any potential alternator faults before they become a problem.